Ham radio | Raspberry Pi | SDR | other tech stuff

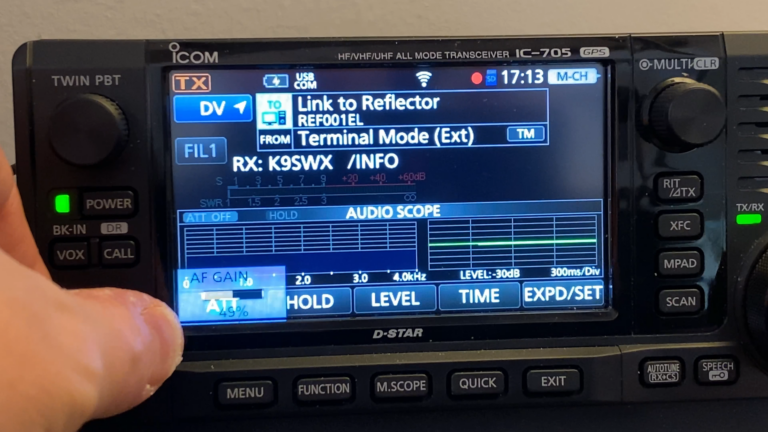
Turn your Icom ID-4100A into an APRS digipeater
I previously made a tutorial about turning the Icom 705 into an APRS digipeater. That was a fun project, but a very expensive endeavor just to use it as a digipeater. I decided to look into getting my current mobile…