Ham radio | Raspberry Pi | SDR | other tech stuff
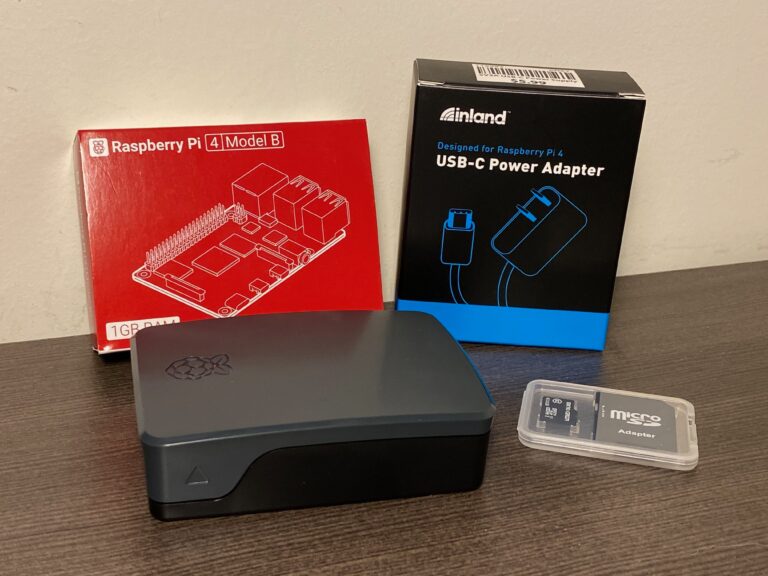
Track weather balloons with a Raspberry Pi and RTL-SDR
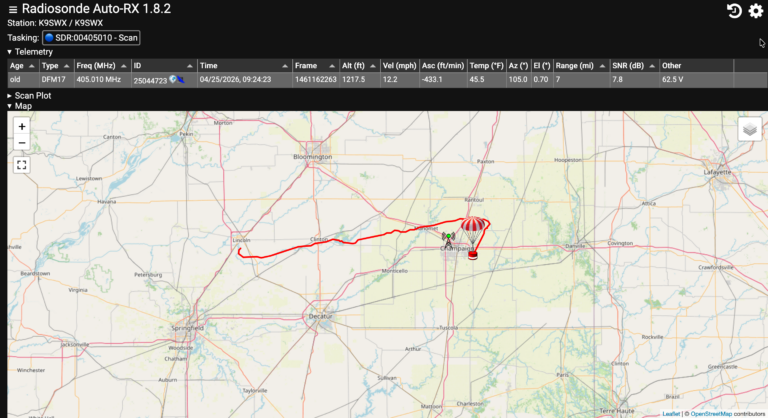
I’ve always been fascinated with weather balloons and how important they are to weather forecasts. When I discovered there was software available to track them, I had to give it a try. Sites like Sondehub and Radiosondy are great but…